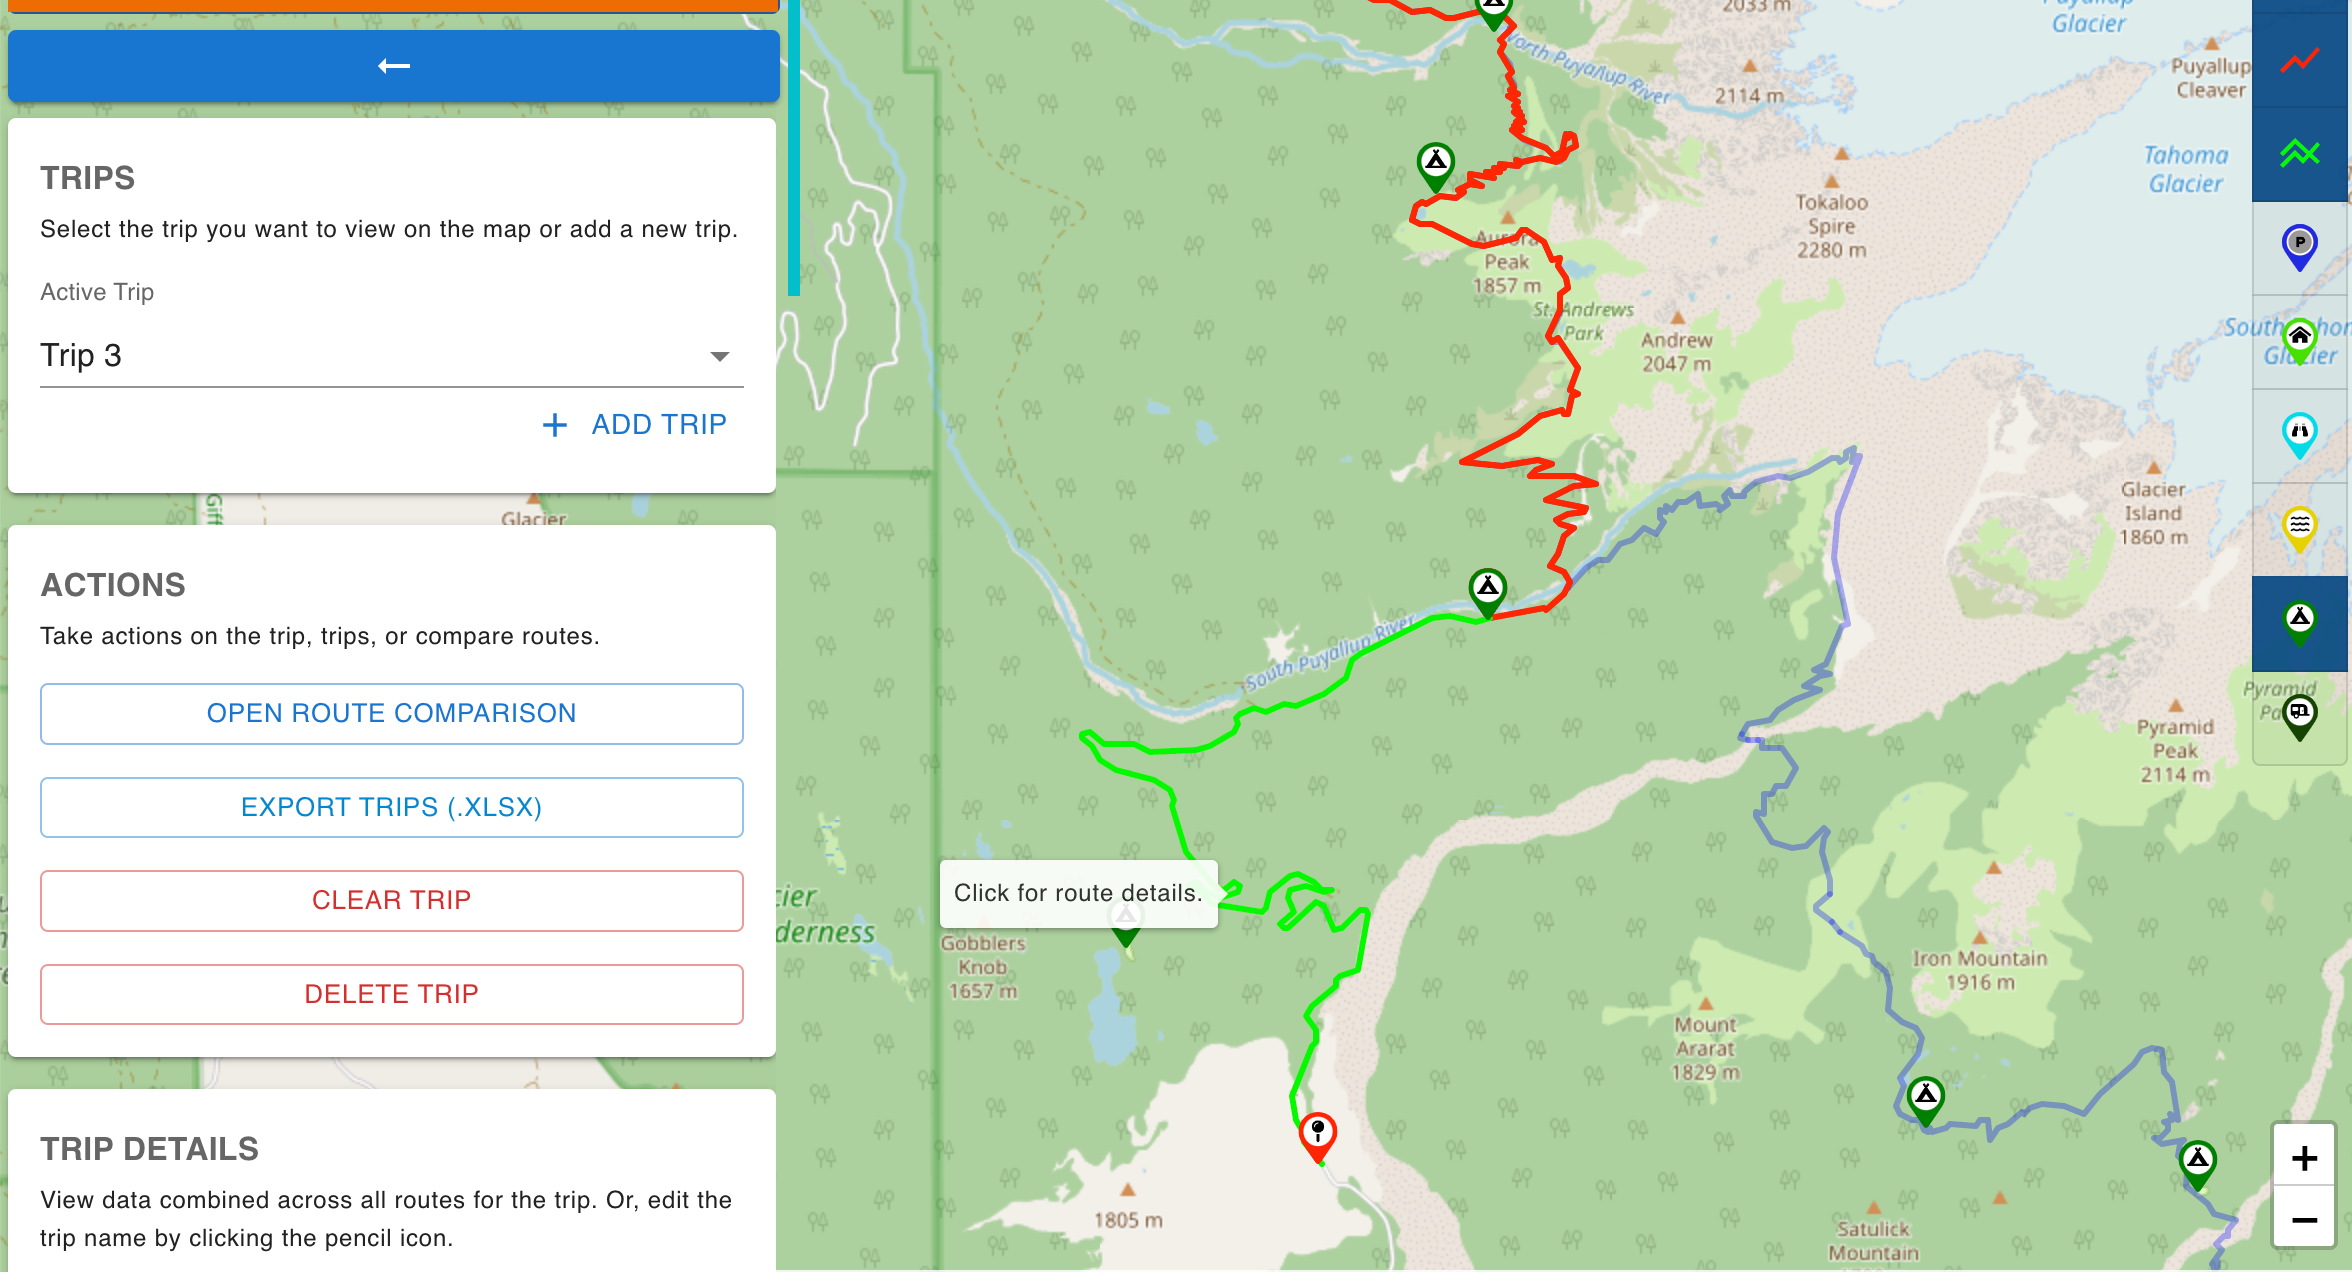
You can view and use the application at https://wonderland-backpacking-planner.netlify.app/
Introduction
I wanted to build the Wonderland Backpacking Planner (WBP) for two reasons:
- There wasn't a tool like it in terms of its focus solely on the Wonderland Trail.
- I wanted an excuse to dive deeper into database and backend programming skills.
The former was an observation made because I sometimes plan trips on the Wonderland Trail, and the tools I saw and used didn't present the trail information the way I believed made sense.
The latter never came to fruition because I found a good source for the data through free APIs.
Trail Data
At first, I planned to create my map locations from scratch to store in a database. This path would give me control and allow me to learn more about databases. But, conversely, it would take much more time. After looking around for places to source the data from to seed the database, I came across some free resources that changed my mind about how the application would work.
- OpenStreetMap (OSM) (tiles)
- Overpass API, which serves underlying OSM data
- OpenRouteService (routes)
OSM is well known in online mapping circles and usually serves as a default map tile provider for libraries like Leaflet or Mapbox. I had used OSM's tiles before but had no idea I could query a free API service to retrieve the underlying data (Overpass API).
It wasn't a seamless integration because the Overpass API has a particular query language, but I was set once I got a few queries figured out.
Finally, I discovered another incredible service, OpenRouteService, that could handle all the hiking routes between locations and even provided alternative hiking routes.
User Interface
There are route-planning applications that use similar data and feature the ability to explore and plan routes. However, what I didn't get from these applications was the ability to see all my options. As a result, it was more difficult to be creative when seeing what could be done with many possible starting locations, routes, destinations, and exit points.
Parking
For example, if I wanted to start at a particular trailhead, I had to know about it before looking at a digitized map of the Wonderland Trail. Even then, there may be other trailheads in the area that could serve as alternatives, but they weren't identifiable on the map.
Above is an image of all the parking options in and around the park. Not all are trailheads. Some are just small areas to pull off the road, but that doesn't mean they can't be a starting point for a backpacking trip. This point is lost when looking at traditional map sources.
On busy days and in busy areas of the park, you may need to park a quarter to a half mile away from the start of the actual trailhead because of parking limitations.
Furthermore, some trailheads are outside the park, so maps don't show them the same as they would a park trailhead. So, for example, it's helpful to know about the Lake Eleanor Trailhead or the Glacier View Trailhead for accessing the park from different angles.
The Parking layer in WBP gives the user all the options.
Nearby Camps
The Wonderland Trail in Mount Rainier National Park is part of an extensive trail system with other trails and backcountry camps that aren't technically "on the Wonderland." Therefore, when exploring or planning a trip, the user may not know which camp they want to go to next or what trail they want to take to get there.
Using the WBP, the user is shown nearby camp locations after selecting a starting location. Subsequently, they can click on the location to see:
- The name of the camp
- OSM properties of the camp
- The recommended route to the camp from where their current location is.
The recommended route is highlighted and shows a data pop-up with distance, elevation gain, and elevation loss.
If the user is exploring, they can select a different camp before clicking Add Route to Trip and adding the route to their itinerary.
Sometimes, the user selects a destination that has an alternative route. If an alternative route is returned from OpenRouteService, both routes are shown on the map, and the user enters the Route Comparison mode.
Route Comparison
Arguably the most useful feature of the application, Route Comparison gives the user a chance to look at route data side-by-side and see:
- an elevation chart
- distance
- positive elevation gain
- negative elevation gain
And they can see the highlighted route on the map.
More importantly, the user can't wait to hit an alternative route by accident to use this feature. Instead, they can enter Route Comparison by clicking the Open Route Comparison button. Then, any subsequent destination clicked on will load its route into the Route Comparison module.
Comparing routes between camps, exit trailheads, and starting trailheads are what this application is all about and gets out the question WBP wanted to answer. How can the user find a backpacking itinerary that fits them?
Future
WBP has other features, like the ability to see multiple trips on the map at once and the ability to export multiple trips to an excel spreadsheet.
In the future, I hope to add more context to the routes to aid in choosing the right route. These additions could be:
- 3D map tiles
- Trail conditions
- Trip reports
- Images

